Urban essay: A landscape, grounds keeping photo journal of transforming a weed lot into a garden. A "How we are doing it from scratch" web log. Topics include: grounds keeping, gardening, planning, landscape construction design, materials, equipment and supplies. Tools for lawn and turf care, tools for gardening, tools for landscape construction, and tool maintenance. Sources for tools and equipment, product evaluations and price comparisons. Garden project cost accounting.

Showing posts with label Street Side Improvements. Show all posts

Saturday, June 19, 2010

Side project

Removal of the concrete drive strip left this big, ugly scar. The photo doesn't reveal the contour of the ground, but this area has been pitiful. What to do. I have some all-purpose grass seed on hand, so after back filling with the excess soil I took from excavating the bed and raking it to a better contour, I seeded it with the grass seed, then covered that with some medium screened soil:
Becky freaked when she saw this. She wanted to have this area for parking. I reminded her that the corner of our property

Friday, June 18, 2010

Some Side Projects

The project to refurbish the bed in front spawned several other projects around the yard. I had careful plans for the bed, but for the other projects I just created a basic mental picture of how I wanted to finish the areas based on what would take place there. Thinking back now, I know that I was well aware of these areas being affected. In fact I had named them. I had formed rough estimates of each sub project. However I did not create written plans or draft any drawings. The next project that spawns sub projects will see separate plans drafted to spell the sub projects out in detail.
Some of the sub projects:


These projects have suggested further projects. Projects of substance come about with the aid of solid planning.

Thursday, June 17, 2010

The Plan Sees Me Through

With the plan I had so carefully drawn up I know what I must complete at each stage to say I am done. Here is the representation of the work done to the point of ready for the brick and the plantings:
And here is the photo of what I managed to wrestle into being to fulfill that vision.
I know there are lots of people who do work with plans everyday that would make all this look like child's play. I want to get steady-on in my ability to plan in detail and create the improvement, following through to the nth degree. I think I hit the bulls eye on this.

Wednesday, June 16, 2010

Power of the Plan

From Becky deciding on doing Jasmine ground cover in the front bed, I produced a plan consisting of a written plan and drawings. Given my state of development, creation of the plan took a great deal of effort and patience. Through the creation of this plan I learned in advance of the actual work that renovation of the curbside bed was a large undertaking. Renovation of the one bed spawned several side projects that would either consume or produce materials related to the bed. The idea is to make all the materials into assets, rather than waste. Then these newly minted assets, not used in the primary project, are applied to some other useful purpose, not merely piled up as dead dreams.
Knowing from the plan that I must also start and finish roughly four other projects gave me foresight to set up the various work areas;  the tools, the equipment with patience. I set a mental picture of the developed state of each area that I would affect to handle the material needs of the front bed. I had two quarries from which I took the broken concrete rocks. Ragged holes were left when the concrete chunks were pulled. Those areas had to be reclaimed. I had two quarries which produced crushed stone. I had two brick stockpiles which were removed. I took three large piles of dirt taken from the bed and put them in the back yard. All these areas required attention in order that they not look like perpetual construction sites. 
The written plan and the drawings of the specific construction phases keep me on track. I have worked three straight ten hour days to get the bulk of the improvements completed.Up to this point in all the gardening I have focused more on infrastructure than on living things. I have an abundance of rich, clean soil. Spreading that into barren areas and seeding it with grass is simple enough but it is a huge leap for me. The infrastructure is the framework for an orderly garden, but the garden is about life and growing. I takes time to develop. I went from being shy about planting anything, to having the sure knowledge of how to create a lawn. Now I know to keep a bag of the sun & shade grass seed handy. I got a large pile of rich top soil from this project which I can now employ for living things wherever a little life needs to be introduced. As I gain confidence I will get better.
The plan has power. I think it is similar to taking out a loan from a bank. An instrument is created in clear written terms. All details are spelled out. The loan document is agreed upon by all concerned parties. The capital is delivered and the installments are made until the loan is paid in full. The bank earns a profit for the risk it takes, and the borrower has financing for his purpose. The thing is a living relationship until the date of maturity. Once the loan is closed it begins to be some "thing".
The same is with a plan such as the one I made for renovating the big bed in front. It came to the point that the thing left to do was to actually get to work. Once I began I could only succeed or fail. The plan has power. By the plan I know I am not quite done with it yet, but I have earned a breather.

Tuesday, June 15, 2010

Sub Project

I had another purpose in mind with the street side bed renovation project. I have all this concrete in various areas of the yard that I want to get rid of. The city will not pick up concrete rubble. I had some hauled off last year and it was costly. So, I done me some thinking and that is where I got the idea to use this concrete rubble as the underlayment base to the paver projects. At the same time, I will use about 75% less crushed stone. I end up with 3-5" of concrete stone and 1" of crushed stone. So the minimum thickness of the base is 4". There were stones that were five or six inches thick. So, just speaking of the base, I think the outcome meets or exceeds my expectations. My main concern is how the base settles, and if it stays put.
This is it going in. I covered it right up with fine, screened soil as I went. I constructed a screed board using a 1x8 that spanned the curb and sidewalk. To that I tacked a 1x6 set at a depth of the brick, plus one inch, for the crushed stone back fill. I laid the stone to come as close to the bottom of the screed board as I could make it. I found that the smaller stones were much easier to handle.

Monday, June 14, 2010

First Step, First Phase, Part One?! Something Like That

I finally finished laying the broken concrete rocks to the sub grade. It was a massive effort for one little guy. Here is the excavation, now at the sub grade:
That is this:
Next step:
 I will top the concrete stones with crushed stone and make the grade for the brick pavers, something like the drawing represents.

Friday, June 11, 2010

Sidewalk Bed Project

I have done some preliminary excavation work, some work to prepare materials and I have done a series of drawings that outline and detail what I intend to build out front.
When I am finished with the excavation I will construct a sub- base using chunks of concrete that I plan to take up from the former drive on the east side of the house. Here is the drawing:

My plan is to lay these chunks in screened soil made into a mud. Then I will grout the edges with mud leaving a fairly flat grade. I have ideas as to how to set a good grade. It will resemble a giant mosaic made from concrete chunks and mud.
When I am satisfied that this is good enough, I will back fill the excavation to the base grade with screened soil. That is the end of this stage of construction.

Thursday, June 10, 2010

My idea

I was thinking that I'm not really wanting to dig out much more of my gravel patio to supply other projects until I get another truck load. While I was digging and transporting the dirt to the back yard I was thinking that I wish I could use some of the concrete chunks so abundant around the yard.
I got this visual image of using some pieces for a foundation under the bricks. The problem is filling in around the chunks. I thought what if I took some dirt and put it through the medium screen? Then take that dirt and mix it up in the pan with a little water until it is a good mud. And how about if I troweled that mud in to lay the concrete chunks like you would a rock patio?
There are a couple of sources for the concrete. There are two concrete strips on one side of the house about 70' long that used to be a drive way. The concrete is about 3" thick and the strips are about 18" wide.


So, I got a brick and an average piece of the concrete and photographed them with a tape measure. Here it is:
 So, the two together are around 8" thick, on average. So, I excavate about 9" to 10", or so, then lay the concrete "stones" using the mud and a trowel leaving the top below grade just a little more than the thickness of a brick. When I have the stones laid and filled in completely, I will put just one inch of fine material taken from the patio screenings that have been put through the fine screen to lay the brick exactly at the grade.
Then I back fill the whole bed with the top grade leveled by a screed board drawn over the edge of the sidewalk and the curb. I'm going to try and draw up something that makes sense of this scheme.

Tuesday, June 8, 2010

Now, A Drawing

After I had raised the water meter pipe came the trash day. It was when I was wheeling the trash can to the curb that I realized that I would have to have a platform of some kind to set the trash cans and recycle bins on. Also the postman and anyone parking on the street would need to be able to get to the walk without stepping through the jasmine.
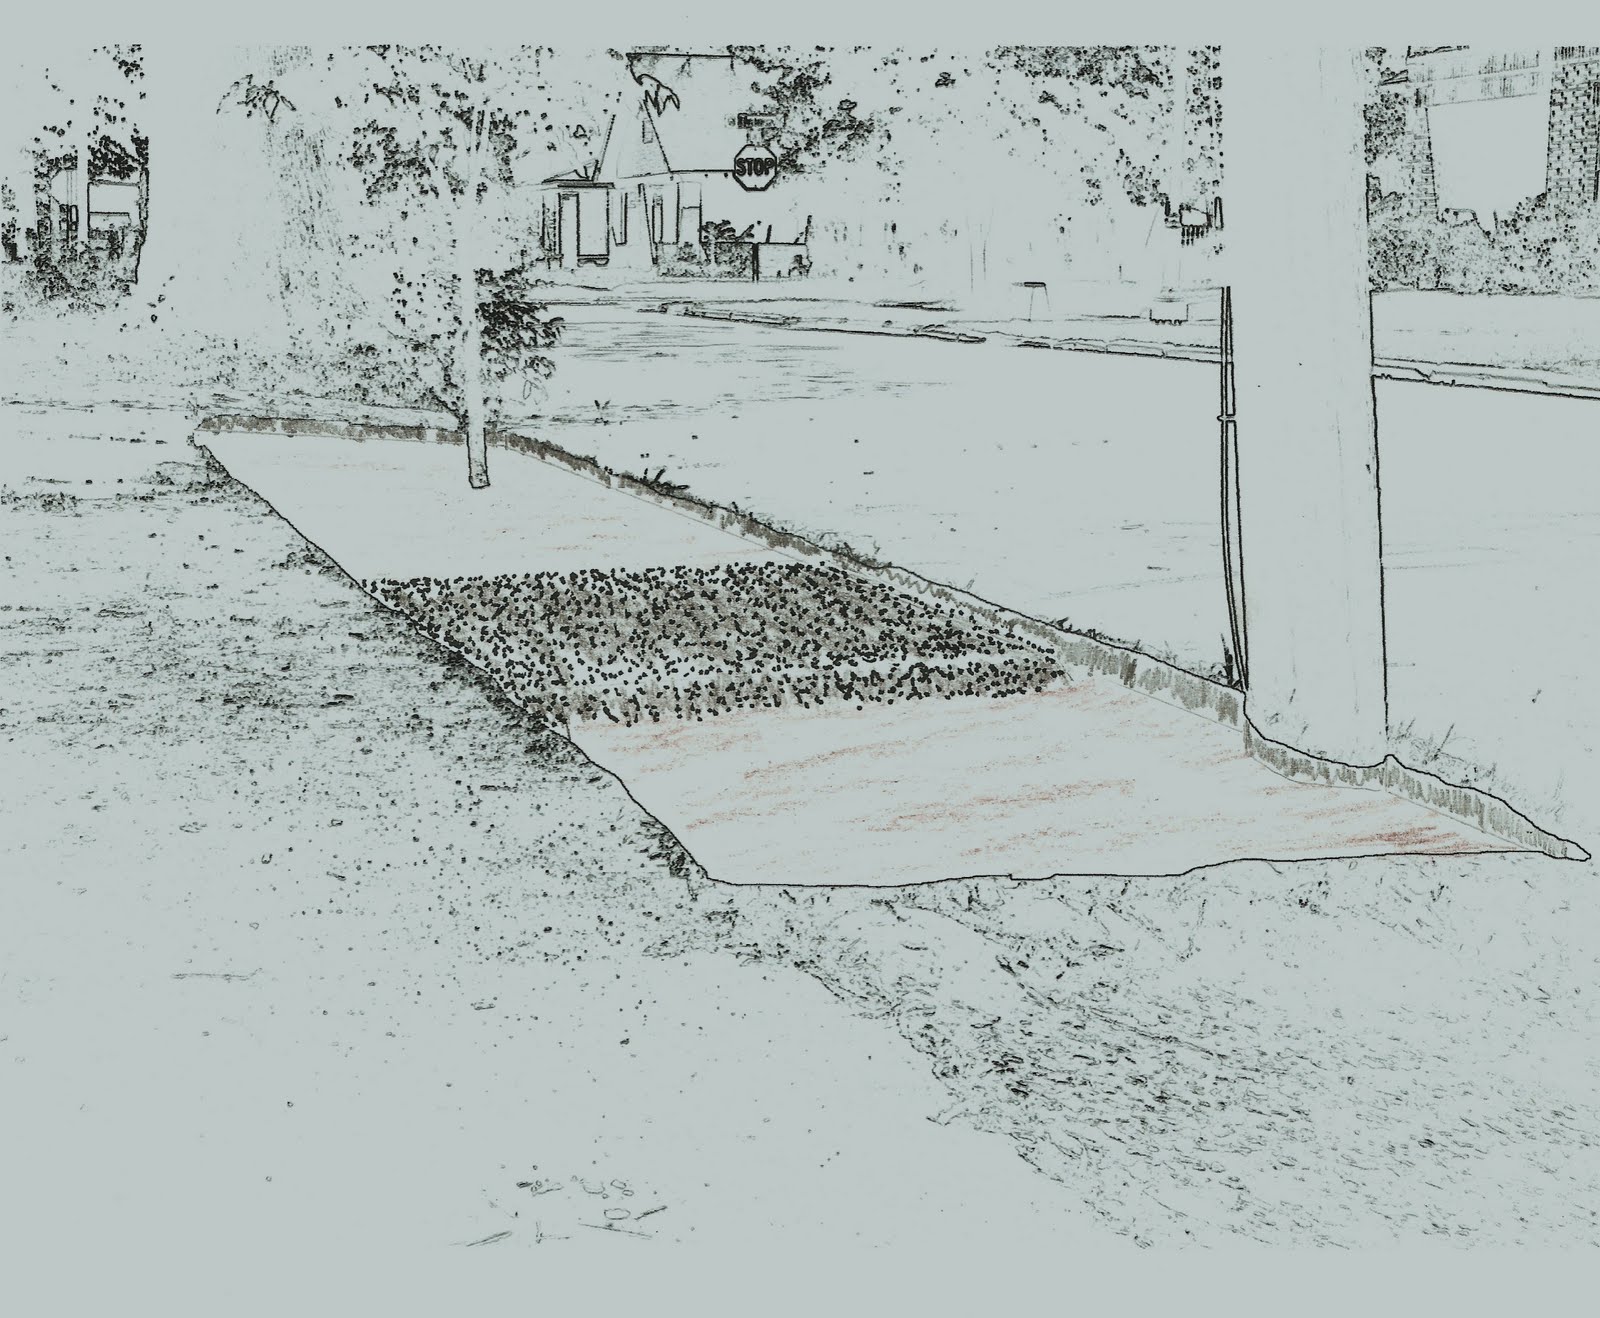
I would be making a big mistake to not revise my plan to take this requirement into consideration. So, I set to my drawing board and produced this drawing to try and visualize what I hope to achieve. I also could get Becky to sign off on the plan.
This is what I came up with.

Monday, June 7, 2010

Water Meter Pipe Pick- up

So, I got my spade, my wheel barrow and large Screen and I set to digging out the water meter.
The pipe thing was pretty broken up. What I did was to dig it all out very well. Then, I dug up enough of the gravel screenings off the top of the patio to lay in about a 3" base at the bottom of the excavation and around the meter. Then I carefully set the two pieces back in and lifted the pipe and pushed the gravel around until I was satisfied with hoe it was set. Then I bacl filled it with clean dirt and planted three jasmine plants around it.
Here are the photos:
And again, a little further away for perspective:
Now, the next obstacles to over come. I'll have to rest my spine a couple of days.

Sunday, June 6, 2010

I'm going to do that, but first, this

I was all gung ho to do a hedge row, but I actually started work on street side improvements. I have every area of the yard categorized with ideas and maybe some plans for improvements. I am currently calling the strip of yard in front between the sidewalk and the street: Street Side Improvements. Here's a before picture:
There is an excess of soil in here and, as you can see, The rain run off backs up and stands on the walk. We decided to put a ground cover in here. Becky bought a flat of Jasmine for it. I've been thinking about what to do here for a long time and now we have come to the time of decision. So I have been re-thinking and studying how to do this in a way that is of the highest possible quality.
You can barely see the water meter cover this side of the Dogwood tree. I have known that it is below grade and that when it rains the water pours in and fills it up. There is so much silt inside that the cap of the meter is just visible. So it really needs to be raised and reset. That is going to be a bit arduous, but for this to be a done good jobby, I have to do it.